
I am a heavy user of the Azure Cloud Shell, I use it every day working with the CLI 2.0 to deal with my Azure Resources.

If, like me, the first time you started the Cloud Shell and followed the wizard and clicked on the button “Create Storage”, you ended up with a new Resource Group containing a Storage Account with a random name.

I don’t like random names with my resources, so I will show you how to control this and mount the Azure Cloud Shell with a Storage Account of your choice.
As documented, out of the box a new Resource Group, Storage Account and File Share will be created following this convention:
When you use basic settings and select only a subscription, Cloud Shell creates three resources on your behalf in the supported region that’s nearest to you:
- Resource group:
cloud-shell-storage-<region>- Storage account:
cs<uniqueGuid>
- File share:
cs-<user>-<domain>-com-<uniqueGuid>


From the Cloud Shell itself you can also see the mount, using the command df:

(Un)mount the Storage Account
There are 2 ways to mount the Cloud Shell to another Storage Account:
Note:
The storage account must be:
- Locally-redundant storage or geo-redundant storage to support file shares.
- Located in your assigned region. When you are onboarding, the region you are assigned to is listed in the resource group name
cloud-shell-storage-<region>. - Mounting to another Storage Account, a new Azure Cloud Shell Disk Image will be created, your previous Image is kept in the previous file share.
1. Just unmount the drive
With this option we just unmount the storage account and you will be prompted again with the Azure Cloud Shell wizard.
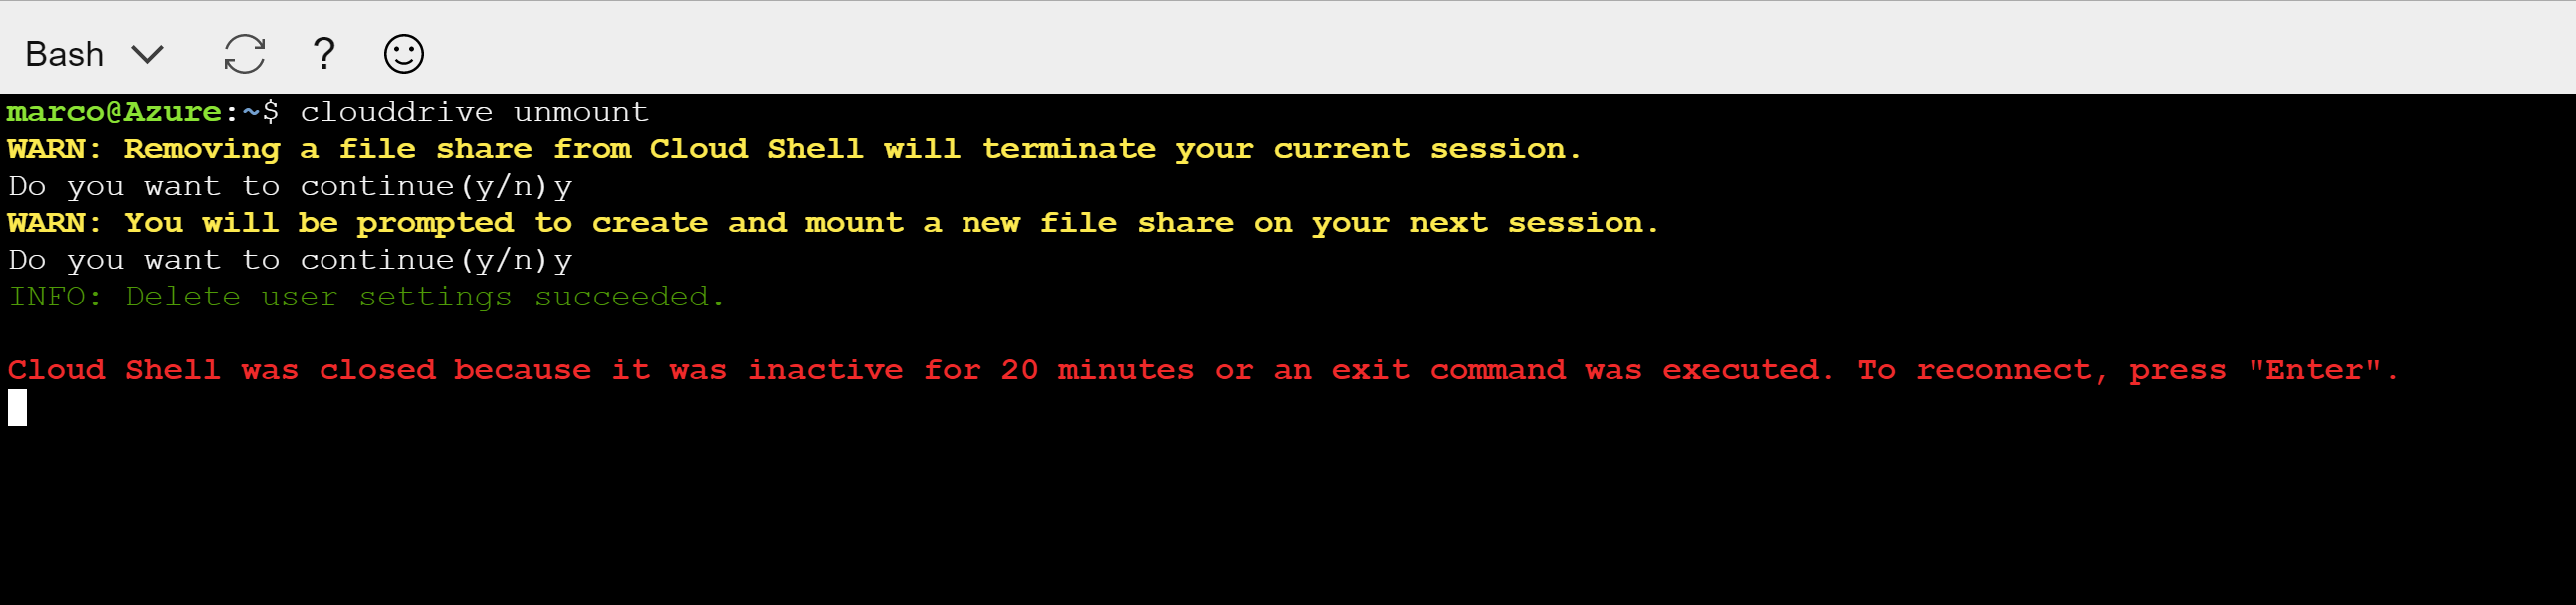
From the Azure Cloud Shell just type:
clouddrive unmount
You have to confirm twice and the Storage Account will be unmounted:
When you start a new Azure Cloud Shell sessions the wizard will appear again but this time click on “Show Advanced Settings”:

And you are now able to select or create a new Resource Group, Storage Account and File Share:

2. Remount from the Azure Cloud Shell
Note: This approach needs an already existing Storage Account
You can mount to another storage account directly from the Azure Cloud Shell using the command:
clouddrive mount
Like:
clouddrive mount -s mySubscription -g myRG -n storageAccountName -f fileShareName
Conclusion
Using one of the option above you are now able to mount the Azure Cloud Shell to another Storage Account.
If you want you can now delete the Resource Group (and Storage Account) created automatically by the Azure Cloud Shell.
Read the full official documentation here.

Hey, Just an update on this the command has been updated clouddrive unmount wasn’t recognised.
I had to use Dismount-CloudDrive
LikeLike